Calendar
The calendar allows you to create, edit, move, and delete events. The calendar has two views: Employee (the service employee's schedule) and Location (the schedule of events to be held at the selected location).
- Event Search
- Schedule Events
- Move Events
- Edit Event
- Past Pending Events
- Create Event
- Remove Event
- Manage Events
- Event Statistics
- Employee Tracking
- Create Group
Event Search
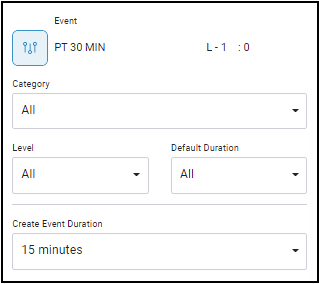
To search for and select events to place on the Calendar, click the Calendar options button.  This button expands and collapses the Calendar search options and events list, as shown below. These options are the same for both the Employee view and Location view.
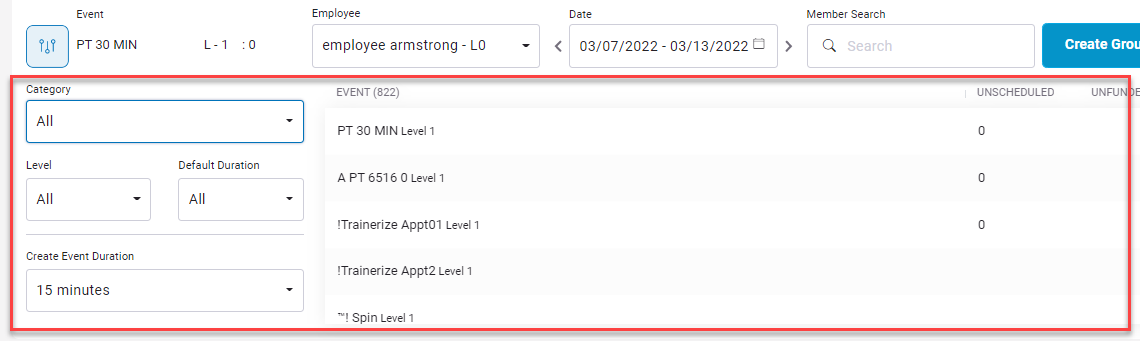
On this menu, you can filter events by Category, Level, and/or Default Duration and select a different event from the event list to the right.
Use the Create Event Duration drop-down menu to select the duration for the selected event. Click a time on the calendar to place the event.
Schedule Events
To schedule an event:
- Select either the Employee view or Location view, depending on how you want to schedule the event.
- Select either the service employee with whom you want to schedule, or the location at which you want to schedule.
- Click the Calendar options button to show the search criteria and Events list.
- Search for the event and select it from the Events list.
- Search for the member you want to attach to the event using the Member Search field. Click Select.
Alternately, you can place events on the Calendar and add members to it later. - If necessary, use the arrows on either side of the Date field to change the week to display.
- Click the appropriate date and time on the Calendar to place the event.
If the selected employee or location are not available at that time, an error will display.
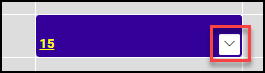
To view the details of the event, click the down arrow. - To add members to an event, click the event that you placed. The Edit Event pop-up will display.
Move Event
To move an event:
- Click the expand icon in the event box on the calendar.
- Click the event's move icon.
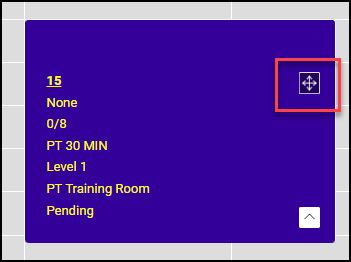
The event box will collapse and a dashed line will border it. - Click the new time slot where you want to move the event.
If needed, change the date at the top of the page.
Edit Event
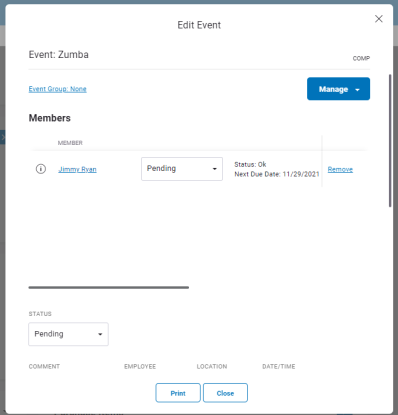
The Edit Event dialog box is opened by clicking an event name.
In the Edit Event dialog, you can do the following:
- Change the Event Group by clicking the Event Group name
- Add a member by clicking Manage
- Remove a member from the event by clicking Remove
- View the Member Summary by clicking the member's name
- View Service Usage Details by clicking the service name
- Change the Status of the event: Pending, Completed, Return to Pending Status, Cancel Event (charge), or Cancel Event (no charge)
- Edit the Comment, Employee(s), Location, Date/Time, Max Attendees, Status Reason, and Duration
- View available, scheduled, and unscheduled events for each member in the event
- Select an Opportunity Level and a Sold value of Yes or No
- Print a PDF of the event information
Past Pending Events
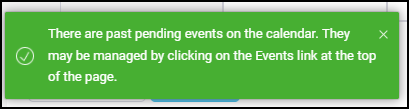
If there are past pending events on the calendar, a pop-up message will appear. To manage these events, click the drop-down button to the right of the Create Group button  and select Events. The Manage Events page will open. See Managing Events for more information.
Create Event
To create a new event, click the drop-down button to the right of the Create Group button and select Create Events. See Creating Events for more information.
Remove Event
To remove an event:
- Click the event on the calendar to open the Edit Event pop-up.
- Click the Manage drop-down menu.
- Select Remove Event.
- In the confirmation pop-up, select OK.
Create Group
Event Groups allow you to place several scheduled classes or appointments into a single group for quick viewing and mass editing.
For example, if you have a Zumba class every Monday, Wednesday, and Friday, you can group all of those classes together. You can also view the calendar in Group mode. To view the calendar by event groups (in Week mode only), you can use the Search feature and select the group from the View drop-down list.
To create an event group:
- Click the Create Group button at the top right of the page. The Edit Event Group page will display.
- Select a Club, Event Category, Level, and Event.
- Enter a name for the group.
- In the Events section, click Add. The Find Events page will open.
- Check the boxes for the events you want to add, and click Finish. You will return to the Edit Event Group page with the selected event(s) listed in the Events section.
- Click Save.
Once an event group is created, you will only be able to change the group’s name, add events to the group, or remove events from the group.