Invoice View: Schedules
The Schedules view of the Invoices tab displays the ABC Managed member’s invoices for profit centers other than Dues. Here you can add an invoice to the member’s account. Unlike the invoices you add while in ABC view, which match the agreement billing frequency, the invoices you create here can be set to a different billing frequency and you can set them to auto renew. If necessary, you can also cancel an invoice schedule.
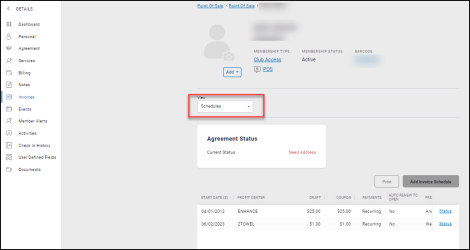
If you wish to add invoices that match the billing frequency on the member’s agreement, you must switch the view to ABC.
Add Invoice Schedule
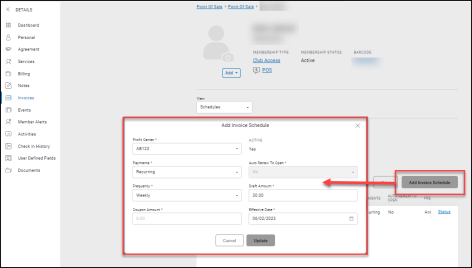
To add an invoice schedule:
- Click Add Invoice Schedule.
- Select a Profit Center.
- Select the number of payments, or select recurring.
- Select the Frequency: Weekly, Bi-Weekly, Monthly, Quarterly, or Semi-Annually.
- Enter a Coupon Amount.
- If you selected a number of payments (rather than Recurring), select Yes or No for Auto Renew to Open.
- Change the Draft Amount and Effective Date, if needed.
- Click Update.
The invoice schedule will be added to the Schedules view of the Invoices tab.
Invoice Schedule Status
Click the Status link next to an invoice schedule to open the Change Invoice Schedule Status pop-up. Here, you can deactivate the invoice schedule or place it in Pending Cancel status.
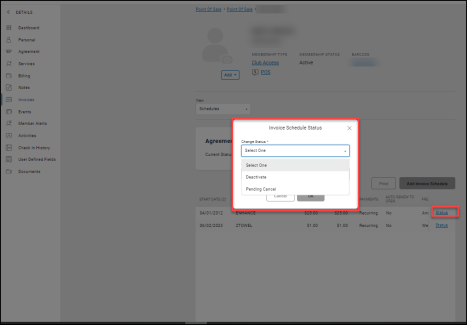
- If you select Deactivate, you will be prompted with the following message: "By deactivating the invoice schedule, no new invoices will be generated. However, the member will still be responsible for all existing invoices."
Click OK to confirm. The Status link will be removed from the invoice schedule. - If you select Pending Cancel, you must enter an effective date before clicking OK. You will be prompted with the following message: "This invoice schedule will become inactive on (effective date) and all invoices after that date will be removed."
Click OK to confirm. The Status link will be removed from the invoice schedule.